In this guide, I am going to show you how I made a smart dashboard using a Raspberry Pi Zero and DAKboard!
What you’ll need:
- Raspberry Pi
- microSD card
- Raspberry Pi power supply
- HDMI to mini HDMI cable
- Spare monitor or TV
Step 1: Install Raspbian Lite
Install the Raspbian Lite image on your Raspberry Pi (don’t forget to set up SSH and WiFi) and run some housekeeping commands.
passwd # Change the default password
sudp apt-get update # Grab updates
sudo apt-get upgrade # Install updates
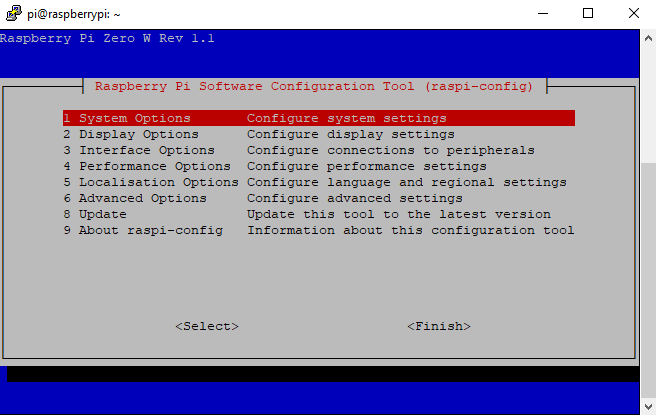
sudo raspi-config # Enter GUI to make some additional changesNext, we will make some changes by going to System Options>Boot / Auto Login> and toggling Desktop Auto Login. This will help us later in the installation process.
Now, run the following commands to install the needed dependencies for our Raspberry Pi to run DAKboard.
sudo apt-get install xserver-xorg x11-xserver-utils xinit openbox unclutter
sudo apt-get install chromium-browser
Step 2: Setup DAKboard
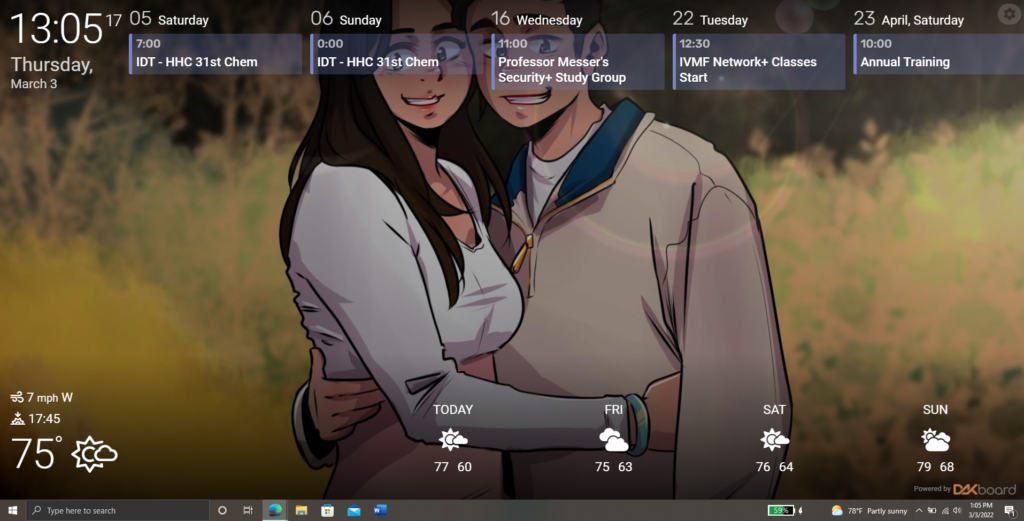
Navigate to DAKboard, make a free account (or pay for the Essentials plan), go to your screens and make edit the Predefined screen to your liking.
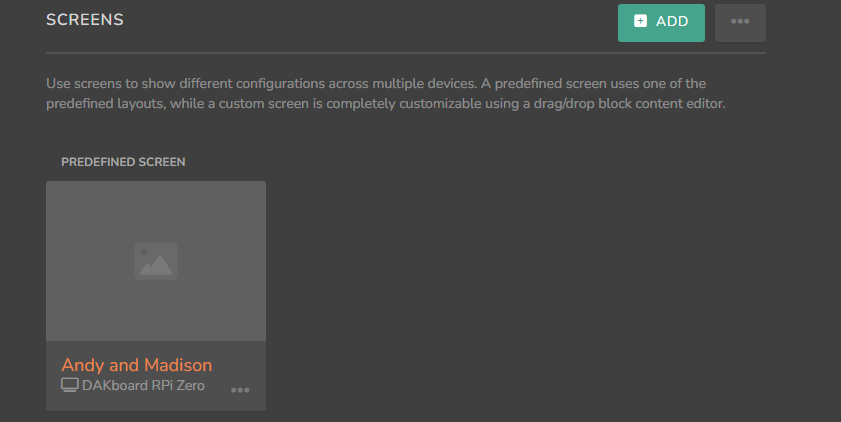
Once you have made edits to your screen, find and save the private URL associated with your screen. This can be found at Display and Devices>Info>Private URL.
Step 3: Final Tweaks to Software
Return to your SSH client and navigate to the following directory:
sudo nano /etc/xdg/openbox/autostartWe will be making some tweaks to disable screensavers, hide the mouse cursor, and configure a few other settings such as:
- –no-first-run skips first run checks
- –noerrdialogs shows no errors
- –disable-infobars no crash warnings
- –kiosk fullscreen mode
xset s off
xset s noblank
xset -dpms


setxkbmap -option terminate:ctrl_alt_bksp # Disables the mouse unless you hit CTRL+ALT+Backspace
unclutter &

sed -i 's/"exited_cleanly":false/"exited_cleanly":true/' ~/.config/chromium/'Local State'
sed -i 's/"exited_cleanly":false/"exited_cleanly":true/; s/"exit_type":"[^"]\+"/"exit_type":"Normal"/' ~/.config/chromium/Default/Preferences

chromium-browser --disable-infobars --noerrordialogs --kiosk 'http://yourdakboard.privatescreen.here' #Replace the private URL with yours
Make sure to replace ‘http://yourdakboard.privatescreen.here’ with your actual private URL from DAKboard! Save your changes and we will move to the hardware portion of the setup.
Step 4: Monitor/TV Setup and Mount
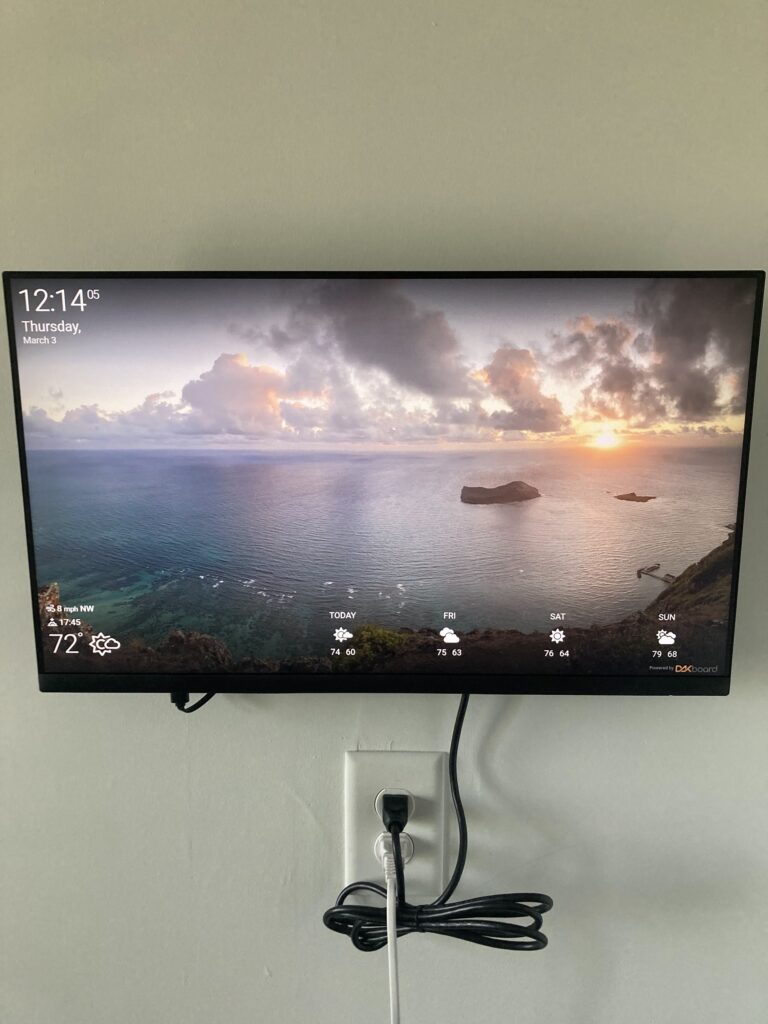
The photo below is my current setup with a Dell P2422H monitor, and a ” No Stud” TV mount. The monitor was mounted using the existing VESA mounts and even has built-in USB ports that power the Raspberry Pi Zero W. This gives me a pretty clean setup with just the power cord showing while the Raspberry Pi and HDMI cable sit flush against the wall!
Next Steps:
You can customize many more settings on your Raspberry Pi such as:
- Switch between vertical and horizontal display modes
- Configure auto-on/off of the Raspberry Pi
- Setup Calendar, Photos, News, and much more with DAKboard (you are limited while using the free plan).
- Remove the LCD display from a cheap monitor and place all of the hardware in a custom frame for an even cleaner look.